PIES Studio Enterprise Version Setup in AWS
This section explains how to create and manage IAM users and groups with an access key using the Identity and Access Management (IAM) in AWS.
Create and manage IAM users and Groups
Create a Repository
Click Sign In To The Console. Enter all the details and click Sign in.
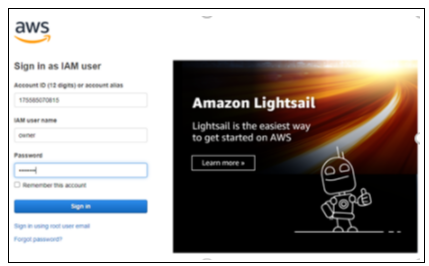
Figure 1: AWS Login page
In the search bar, type ECR, select Elastic Container Registry, and press the Enter key.
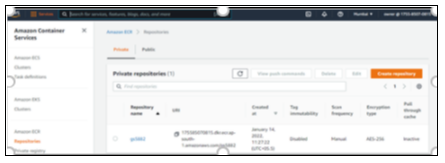
Figure 2: Amazon ECR page
Click Create Repository.
In General settings, select Private for visibility settings.
Add a repository name to the box provided.
The repository name must start with a letter and can only contain lowercase letters, numbers, hyphens, underscores, and forward slashes.
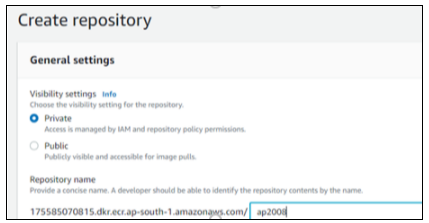
Figure 3: General Settings
All other settings will be kept as default.
Click Create Repository. You have successfully created a repository.
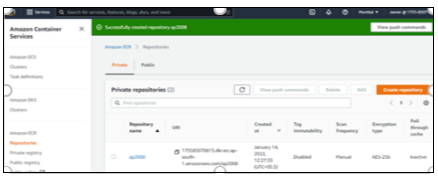
Figure 4: Create Repository
Create Users and Groups
Click on the repository name.
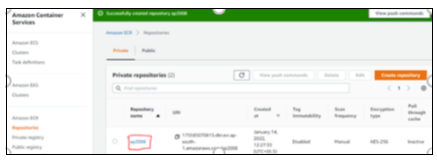
Figure 5: Create Users
Type IAM in the search bar. Select IAM from the drop-down list. Click Users from the drop-down list under IAM.
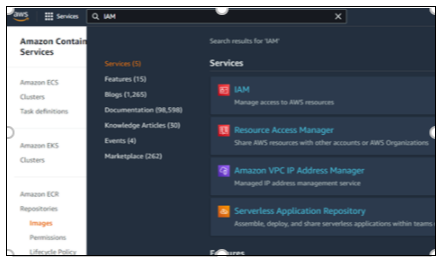
Figure 6: Drop-down list of IAM
Click Add users.

Figure 7: Add Users
Add a User Name.
Select the AWS credential type as Access key - Programmatic access. Click Next: Permissions.
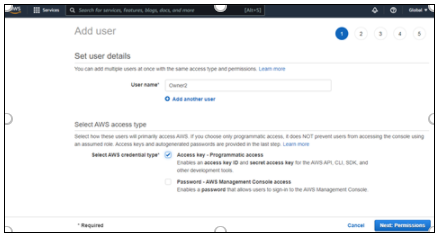
Figure 8: Set User Details
Click Create group under Add user to group.
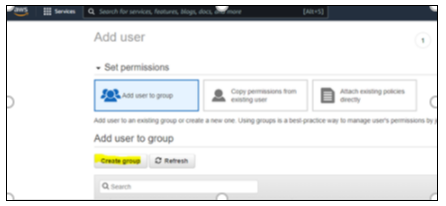
Figure 9: Set Permissions
Enter a Group name.
See the group lists below and select a group that gives read-only permissions. Click Create group.
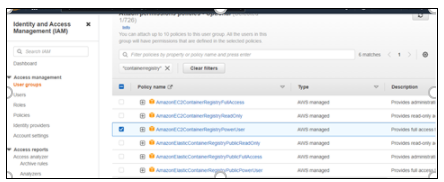
Figure 10: Create a Group
Click Next: Tags.
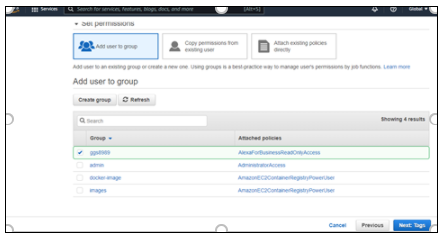
Figure 11: Add Tags
Adding tags is an optional step. Click Next: review. You can review the roles and permissions created by you. Click Create user.
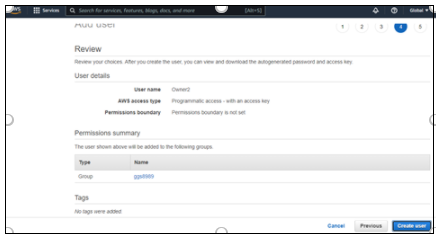
Figure 12: Create a User
You have successfully added a user and a group.
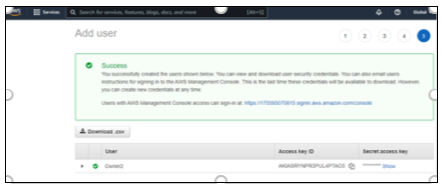
Figure 13: Successful creation of a user and a group
Create Access Key
To create an access key:
Click and download the .csv file and send it to the PiES studio.
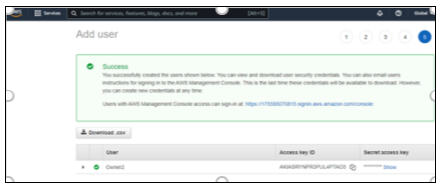
Figure 14: Access Key created
You will get a secret access key. This key is used by the PiES studio to authenticate with the AWS CLI.
