Self Hosting
Download
In PIES studio, apart from deploying an application, you can also download the application’s database script & docker containers and run the downloaded containers in desired self hosted set up.
In PIES Studio, there are three separate modules to every application that gets created - Database, Backend and Frontend. And every module communicates to the other i.e. Frontend communicates with the backend and backend communicates with the database.
The following section explains how to download and run your application in self-hosted set up
Go to Host & Export section on the left pane of desired application
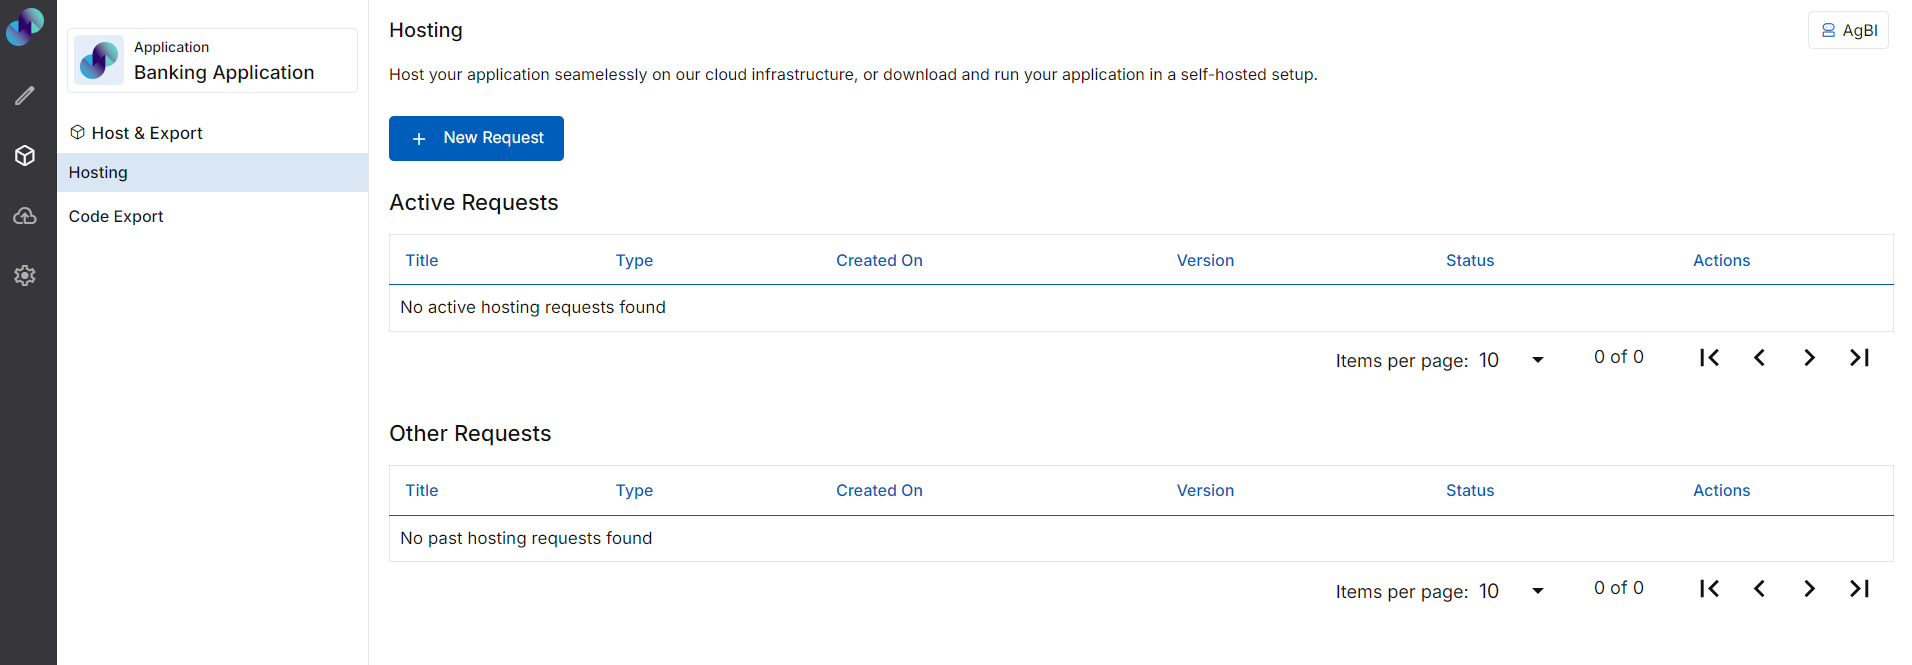
Fig 1: Hosting
Under Hosting, click New Request. Note: You will only be able to create a new request if you are an admin or if you have purchase access granted by admin
You will get two types of requests- Cloud Hosting & Self Hosted. If you choose Cloud Hosted, you can deploy your application in created environments. If you choose Self Hosted, you can download docker containers and host it yourself. In this section, we will detail out Self Hosted type.
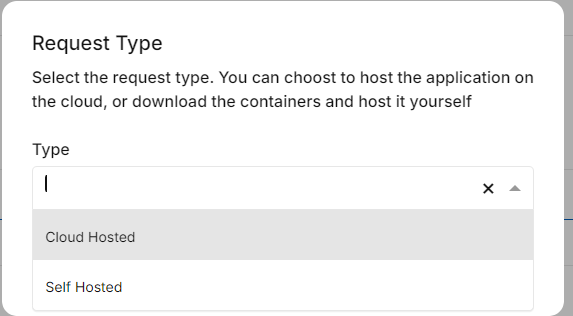
Fig 2: Request Type
Once you click on Create, application build will start running. You will be able to download only when build is successful without any errors. If build fails, you need to fix the reported errors and raise new request.
When your application build is successful, you will get a request form to fill in hosting details
Title is set to application name by default based on the name you provided during application creation process. You can also change the title if required
Enter a version to your download in Version field
Description field is set to application name by default. You can also modify the description if required
Under Target Platform, you can find Web which implies, currently, applications can only be deployed as a Web Application. For mobile deployments, you need to download the code. Refer Code Export section for the same
If you have not provided Admin Details in Access Control - Configurations section, you need to enter the Name & Email Address of user who will be the application's admin. If you have provided admin details in Access Control section, the same will automatically reflect in this form
Ensure that the admin details are entered correctly in deployment form. Admin will not receive Set Your Password email if incorrect information is provided
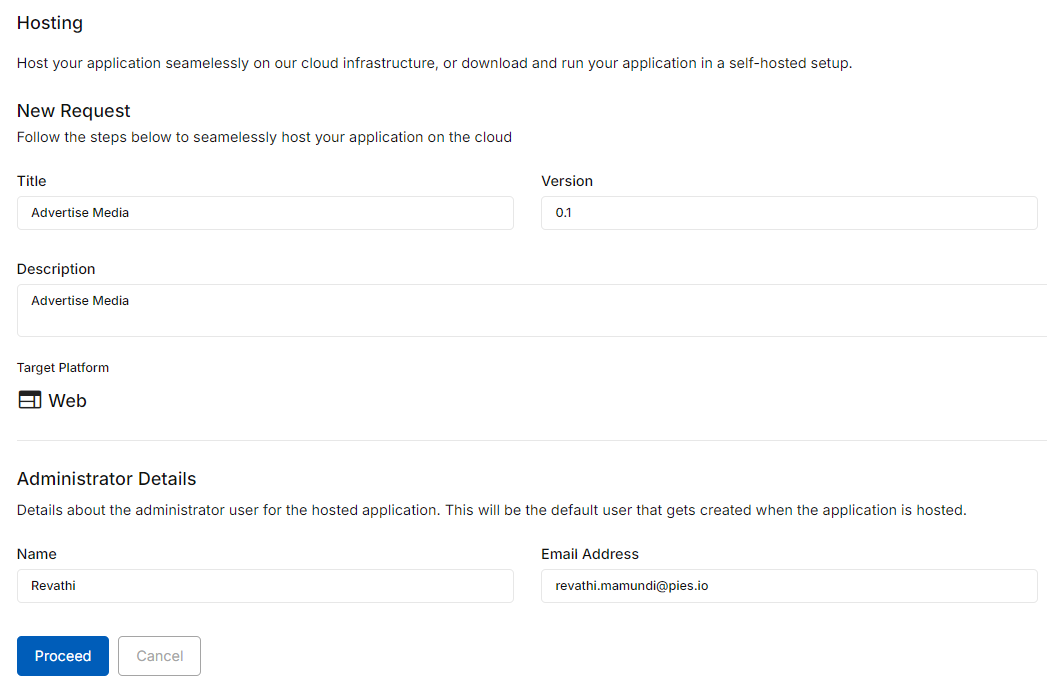
Fig 3: Self Hosting Request Form
Click Proceed to create self-hosting request. self-hosting request status will be pending at this point
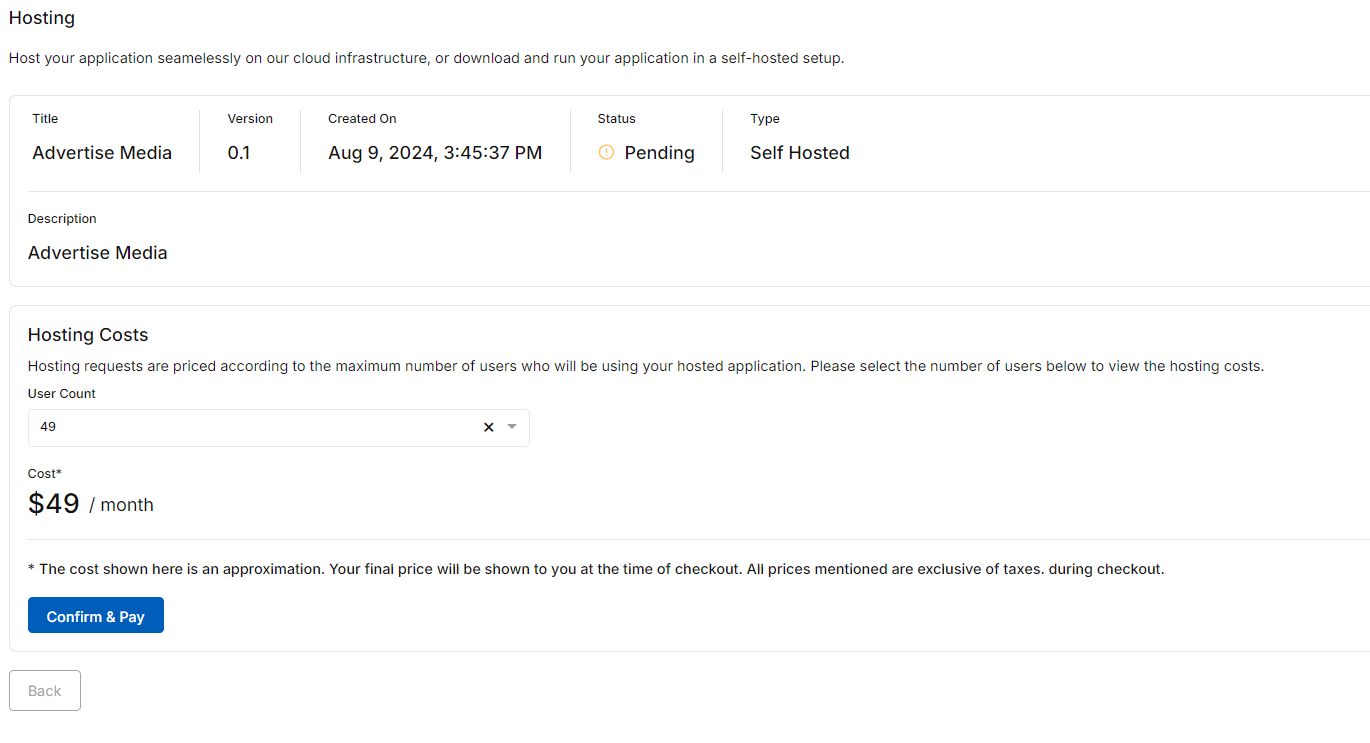
Fig 4: Request Status & Hosting Costs
Under Hosting Costs, you will be able to select the cost of hosting your application. Cost depends on the maximum number of users who will be using the deployed application. Under User Count dropdown, select required number of users. You will be able to see the flat pricing for selected number of users per month, right below the dropdown. If you select 1000+ as the user count, you will be charged flat rate pricing for 1000 users plus you can add users in multiples of 1000, with an additional $50 for every 1000 users.
Click Confirm & Pay once you have selected the user count. You will be redirected to payments page. Once invoice is generated, you will get a notification email regarding your purchase. Once payment is successful, you will be redirected to hosting page. Here, you can find the created request and it’s status under Active Requests.
When you click on View, you will be taken to self hosting page, where you can find options to download database script & containers.
Database Script
To download database script,
Under Database section, click Download Database Script
Database script file will be downloaded. You can use this file to run your application in self-hosted setup.
Database section will be available only when you choose to create new data model directly in PIES studio or upload excel file under Database. If the application is connected to an existing database, this section will not be displayed.
Backend
To download backend container for the application’s backedn server,
Under Backend section, enter database details such as Database Name, Host, Port, Username & Password where database container is deployed
Since backend communicates with database, you need to provide database connection details to download backend container. All the above fields are mandatory to download backend container.
Now click Download Backend Container. A packaged backend docker container will be downloaded as zip file. You can use this file to run your application in self-hosted setup.
Frontend
To download frontend container for the application’s user interface,
Under Frontend section, enter the URL where backend container is deployed in Backend URL field
Since frontend communicates with backend, you need to provide the backend URL to download frontend container
Click Download Frontend Container. A packaged frontend container will be downloaded as zip file. You can use this file to run your application in self-hosted setup.
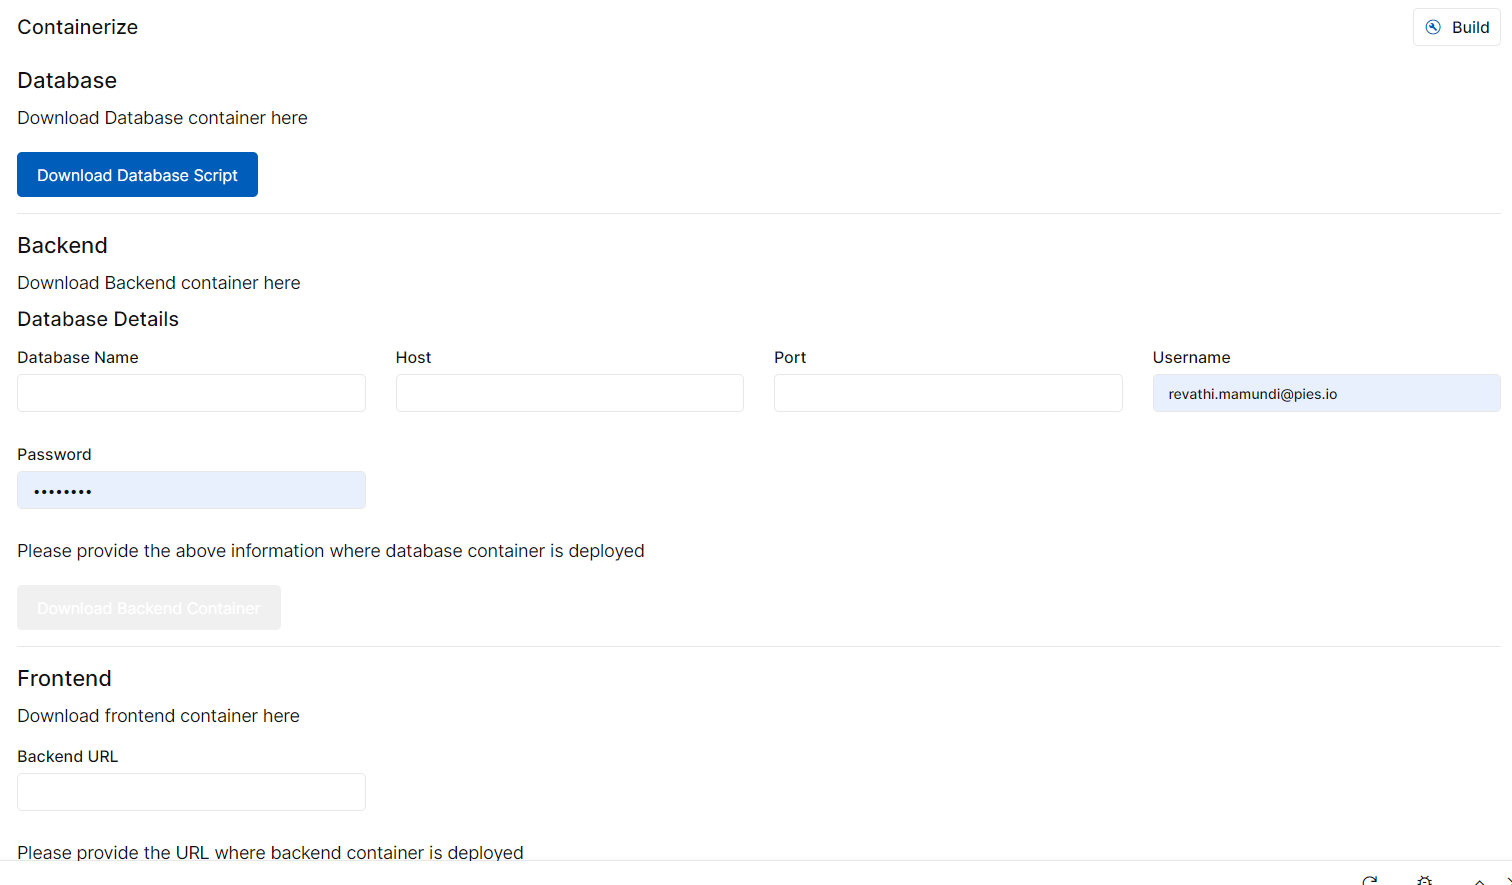
Fig 5: Download Database Script, Frontend & Backend Containers
