Landing Page
Landing page Overview
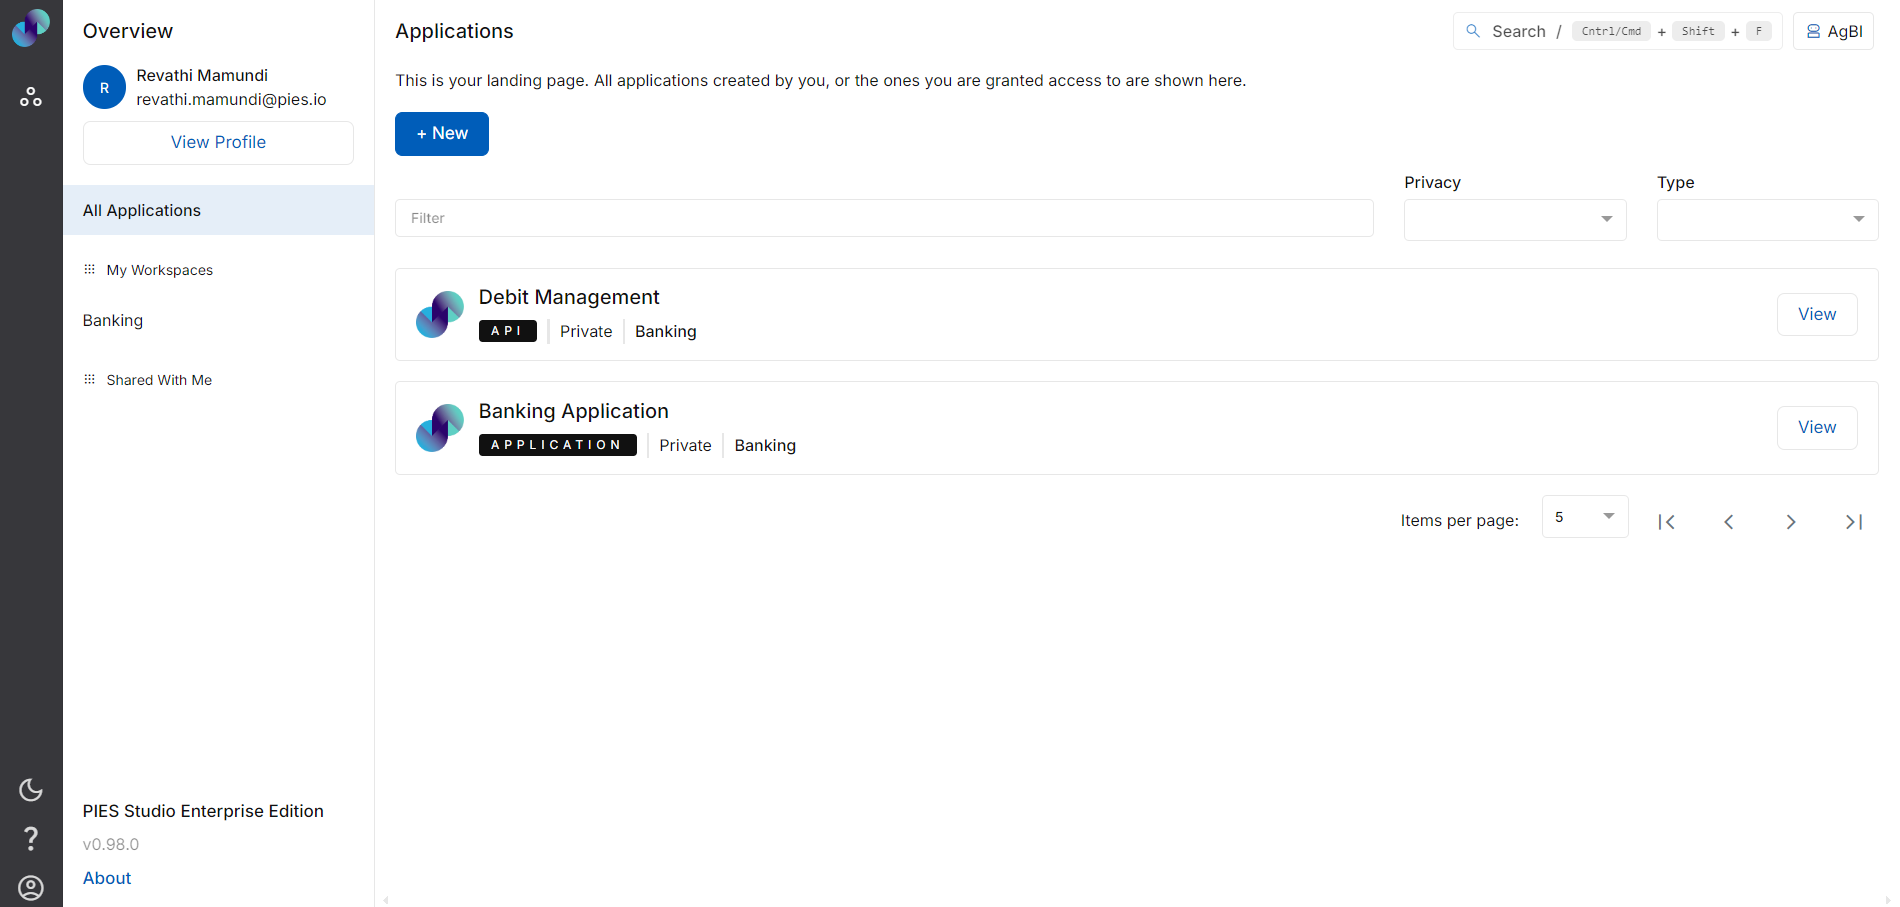
Once you login to PIES Studio, you will be navigated to Application landing page, and you can see the list of all applications/databases/APIs created or the ones you are granted access.
You can create, edit, duplicate and delete an Application/API/Database.

Fig 1: Landing Page
Landing Menu Bar
In the landing page menu bar, first icon is My Workspaces. This section includes all the Application, API's and Databases created by you and the ones shared with you.
Next is Theme icon. This icon is used to switch screen mode between dark and light. You can click on this icon to do the same.
When clicked on Help icon, you will be redirected to PIES studio developer guide, which can be used to understand the platform in detail.
When you click on Profile icon, you can see the current logged in user & you can also log out here. Once you click on Sign out, you will be redirected to the login screen.
https://youtu.be/DTn0HQVarTs?si=65XgB83YheYhrzm3
On the top left hand side panel of Workspace/Landing page, you can see Overview Section. Here is where you can view your profile, workspaces & applications/API/databases.
Overview
User Profile
On the top left corner, you can see the logged in Username and User id with a button called View Profile.
On clicking View Profile, you can see below 2 sections: -
1)Basic Information
2)Change Password
Basic Information - This is the basic information of the user. You can edit user information like Profile Picture, Name, Country and Phone number. User Email and Role are non-editable fields and are disabled.
If you make changes, click on Save to save the changes. Success message will be displayed as “Profile updated successfully “. Click Back to navigate back to the application landing page.
Change Password - This is used to change the account password by entering the Current Password, Old Password and New Password.
Click on Save to successfully save the changes. Success message will be displayed as “Password updated successfully “. Click Back to navigate back to the application landing page.
All Applications
Below View profile we have a section called All Applications. On clicking All Applications, list of the Applications/Databases/APIs created will be shown on the right canvas. You can use pagination to view all/desired Applications/Databases/APIs when there are multiple Applications/Databases/APIs present.
Workspaces
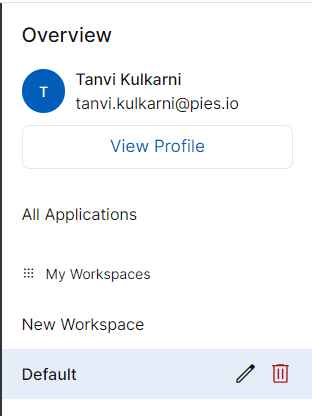
Under All Applications workspaces will be displayed. Workspaces will be categorized based on creation type - My Workspaces will have all the workspaces created by the logged in user & Shared With Me will have all the workspaces shared with the logged in user. The new workspace created under New Application/API/Database pop-up window will appear under My Workspaces.
You can edit a workspace name by clicking on the pencil icon next to it. A pop-up window will be displayed to change the name of the workspace. Enter the new Workspace name and click Save to save the new name, A success message will be displayed as “Workspace name updated successfully “. Click Cancel to close the pop- up window.
You can delete the workspace by clicking on the delete icon next to it. A pop-up window will appear to confirm the deletion of workspace. Click Confirm to delete the workspace. A success message will be displayed as “Workspace deleted successfully“. Click Cancel to close the pop-up window.

Fig 2: Overview Section
Application Creation
To create an application, click on +New button on the top of the landing page.
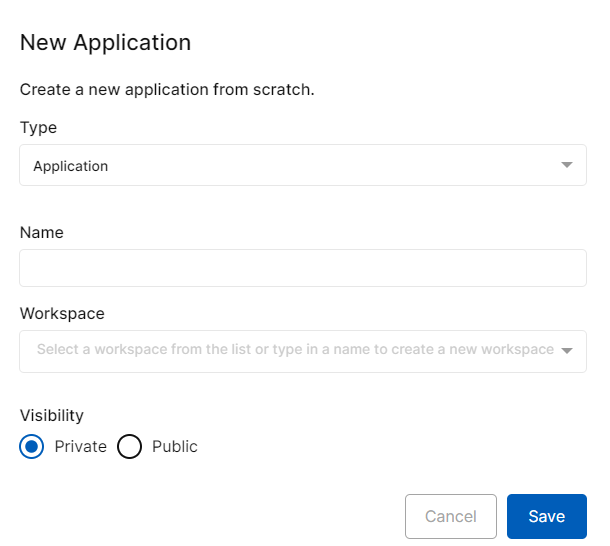
A pop-up window will appear to select Type of creation, enter a desired Application name and select Workspace Name and Visibility. You can select an already created workspace from the dropdown list or if you wish to create new workspace/there is no existing workspace in dropdown list, you can create a new workspace by typing a name. The workspace will be created with the provided name and application will be configured under this Workspace.
Click Save to continue or click Cancel to go back.

Fig 3: New Application PopUp
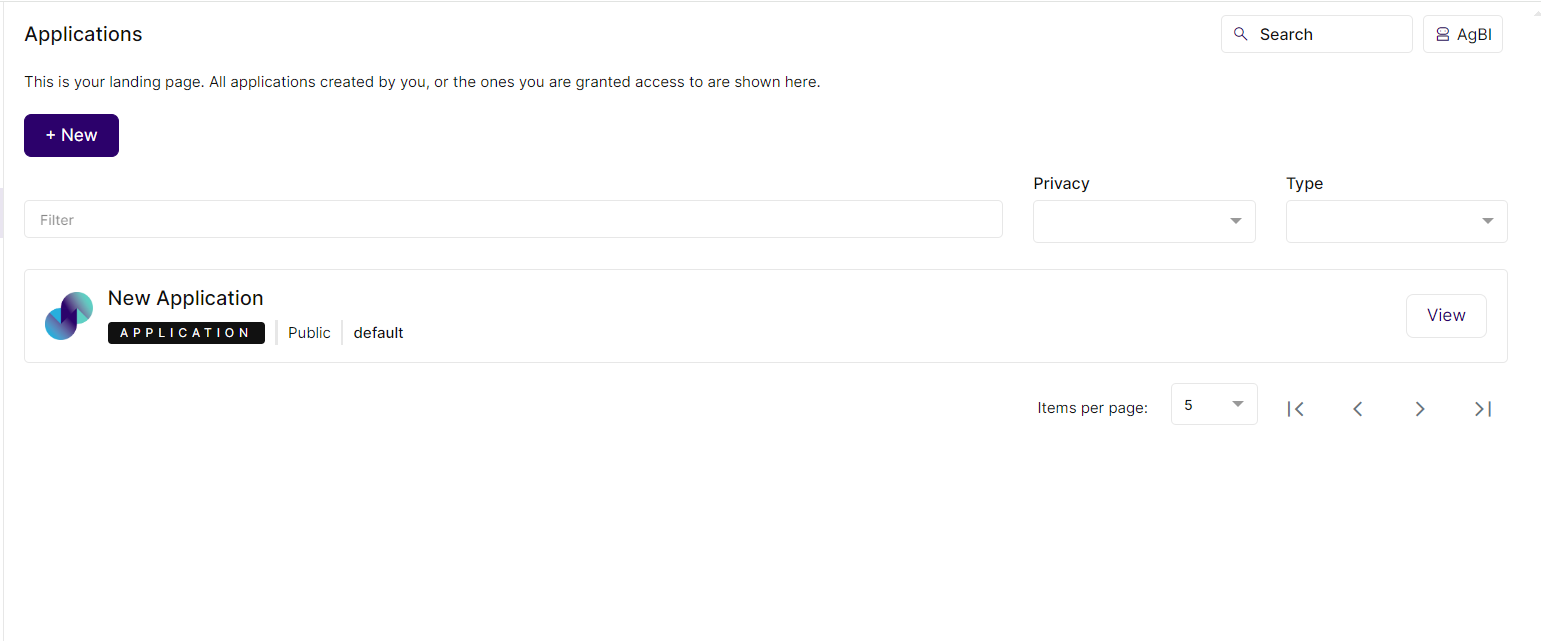
Upon saving, your application will be created successfully with Application Name along with the Visibility and Workspace Name. Once an application is created, you can click on the View button to navigate to the explorer screen to configure the required modules of your application. The same process applies for editing an existing application’s configuration as well.
You can filter the Applications/API/database from the list by selecting Privacy and Type from the dropdown on the top right side. Privacy dropdown will have Public & Private options and Type dropdown will have Application, API & Database options.
Public Applications: All users in the platform will have read access to public applications, and only write access can be granted to these applications. i.e. Public applications can be viewed by all users, but only users with write or maintain access will be able to edit or make changes to these applications.
Private Applications: Private applications will not be visible to all the users. They will be visible and editable only to those users who have been granted the relevant access. i.e. users will specifically need read access to private applications in order to view them, and write or maintain access in order to modify them.
You can type the Application Name in the filter text box to search the application/database/API. You can also search for app;ications, API’s or database by clicking the search text box in the top right corner or by using shortcut Ctrl/Cmd+shift+F and then entering the keyword for application/database/API in the text box. Application/database/API created by you will appear under My Applications & public Application/database/API will appear under Public Applications based on entered keyword and you can click on View button to go to Explorer section of application/database/API.

Fig 4: Application Creation
https://youtu.be/W3TJIhBjlqM?si=ctWECy4ahfq5lNJP
API Creation
Apart from developing an entire application, developers will also be able to create microservices or API's. With microservices, application can be built as independent components that run each application process as a service. These services communicate via a well-defined interface using APIs. Each service performs a single function. Because they are independently run, each service can be updated, deployed, and scaled to meet demand for specific functions of an application.
To create API in PIES Studio, click on +New button on the top of the landing page.
A pop-up window will appear to select Type of creation, enter a desired API name and select Workspace Name and Visibility. You can select an already created workspace from the dropdown list or if you wish to create new workspace/there is no existing workspace in dropdown list, you can create a new workspace by typing a name. The workspace will be created with the provided name and application will be configured under this Workspace. Click Save to continue.
API will be created successfully and reflect under the list of API’s, Applications & Databases. Click View against desired API to go to explorer pane. You can find all the explorer components similar to application's explorer pane, except for screens, events & menu. Functions are the microservices that you will be building under API.
You must create database before going ahead with functions/microservice/API creation. Please refer Application Configuration section to know more about Explorer pane modules. Only difference in API creation is that, you will only create Functions. Screens, Events & Menu will not be present as we are building only microservice. You can either manually create functions or use Automate feature to auto create the functions.
